 sale. There are no discernible stampings on them. 180 mm long. Some parts are made of brass. The tightening screw is missing. A similar set sold on ebay.com for $10 plus $5 shipping.
Friday, December 24, 2010
Wing Dividers
This pair of dividers came from somewhere in New York, maybe a garage  sale. There are no discernible stampings on them. 180 mm long. Some parts are made of brass. The tightening screw is missing. A similar set sold on ebay.com for $10 plus $5 shipping.
sale. There are no discernible stampings on them. 180 mm long. Some parts are made of brass. The tightening screw is missing. A similar set sold on ebay.com for $10 plus $5 shipping.
Tuesday, September 14, 2010
Rust in the Windstar
A  few bubbles of rust appeared in the 1999 Ford Windstar, so we set about to
  cu
cu t
t i
i t o
t o ut.
ut. The rust behind the panel extended much further than the bubbles suggested. There was also rust in the mudguard behind the panel so that had to come out too. We riveted a piece of galvanised steel in the hole to support the filler. We had a can of pink paint lying around so we used that until we can sand it and paint it with matching colour.
 few bubbles of rust appeared in the 1999 Ford Windstar, so we set about to
  cu
cu t
t i
i t o
t o ut.
ut. The rust behind the panel extended much further than the bubbles suggested. There was also rust in the mudguard behind the panel so that had to come out too. We riveted a piece of galvanised steel in the hole to support the filler. We had a can of pink paint lying around so we used that until we can sand it and paint it with matching colour.
Friday, July 23, 2010
No pickup truck?
 What to do if you have no pickup truck (but do have a minivan): slide a long board under the seats from the back; put a piece of plywood on it; tie the board to the roof rack (if you have a long window to carry, e.g. 8'x5'). Then drive carefully!
Sunday, May 23, 2010
Forging Bicycle Tyre Irons
I  found an old bicycle in a ju
 mbo bin. It was missing the seat, which is no problem.
  I had an old seat lying around. The back tyre was flat, so I pumped it up. Water started coming out which was unusual. Nevertheless I kept on pumping, then bang! The tube exploded a 3 inch hole in it (not the tyre). I had another wheel lying around (on top of the shed, I think), so I put that on. But it was t
 oo buckled and the sprockets were badly worn and broken. So I thought I would just pull the tube out of that tyre. But that would mean finding tyre irons. I thought it might be quicker to make new ones instead (more fun too). So I got out the forge, and looked around for some suitable steel. As I stared at a likely piece of steel, I suddenly realised that it was a tyre iron! It is probably for a motorcycle, but it worked on the bicycle, and gave me a pattern to make the others.
 found an old bicycle in a ju
 mbo bin. It was missing the seat, which is no problem.
  I had an old seat lying around. The back tyre was flat, so I pumped it up. Water started coming out which was unusual. Nevertheless I kept on pumping, then bang! The tube exploded a 3 inch hole in it (not the tyre). I had another wheel lying around (on top of the shed, I think), so I put that on. But it was t
 oo buckled and the sprockets were badly worn and broken. So I thought I would just pull the tube out of that tyre. But that would mean finding tyre irons. I thought it might be quicker to make new ones instead (more fun too). So I got out the forge, and looked around for some suitable steel. As I stared at a likely piece of steel, I suddenly realised that it was a tyre iron! It is probably for a motorcycle, but it worked on the bicycle, and gave me a pattern to make the others.
Tuesday, May 18, 2010
Lawnmower Flywheel Key Replacement
T he
he second time DD mowed No. 18 with No. 18's own mower, he forgot about a 2 inch steel pipe that must have been an old clothesline pole (I don't know why that would be in the front yard). He hit it with the blade and then the mower wouldn't start.
Symptoms: Won't start. Kicks back (back fires). Blows exhaust out of carburettor. Plug fowls with black oi
oi l
l .
.
Diagnosis: I was worried that the rings were compromised with all the oil on the plug. But I called the mower repair company which had put a sticker on the mower. The man told me it could be a bent shaft, or the flywheel key.
I searched the internet for some clues and found a video at http://www.small-engine-repairs.com/replace_lawn_mower_flywheel_key.html which explained the proces s.
s.  About this time DD came home and he did most of the work. Once we uncovered the flywheel we could see that the key had sheared and the wheel was turned 1/4 turn out of place. This makes the timing wrong which causes all the symptoms. We went to the mower parts shop and bought a new woodruff key for $2. Installed it, and the mower started right up. Then we returned the mower to No. 18 and dug down around the pipe and cut it off well below ground level. No more pro
 ble
ble m.
m.
 he
he second time DD mowed No. 18 with No. 18's own mower, he forgot about a 2 inch steel pipe that must have been an old clothesline pole (I don't know why that would be in the front yard). He hit it with the blade and then the mower wouldn't start.
Symptoms: Won't start. Kicks back (back fires). Blows exhaust out of carburettor. Plug fowls with black
 oi
oi l
l .
.Diagnosis: I was worried that the rings were compromised with all the oil on the plug. But I called the mower repair company which had put a sticker on the mower. The man told me it could be a bent shaft, or the flywheel key.
I searched the internet for some clues and found a video at http://www.small-engine-repairs.com/replace_lawn_mower_flywheel_key.html which explained the proces
 s.
s.  About this time DD came home and he did most of the work. Once we uncovered the flywheel we could see that the key had sheared and the wheel was turned 1/4 turn out of place. This makes the timing wrong which causes all the symptoms. We went to the mower parts shop and bought a new woodruff key for $2. Installed it, and the mower started right up. Then we returned the mower to No. 18 and dug down around the pipe and cut it off well below ground level. No more pro
 ble
ble m.
m.
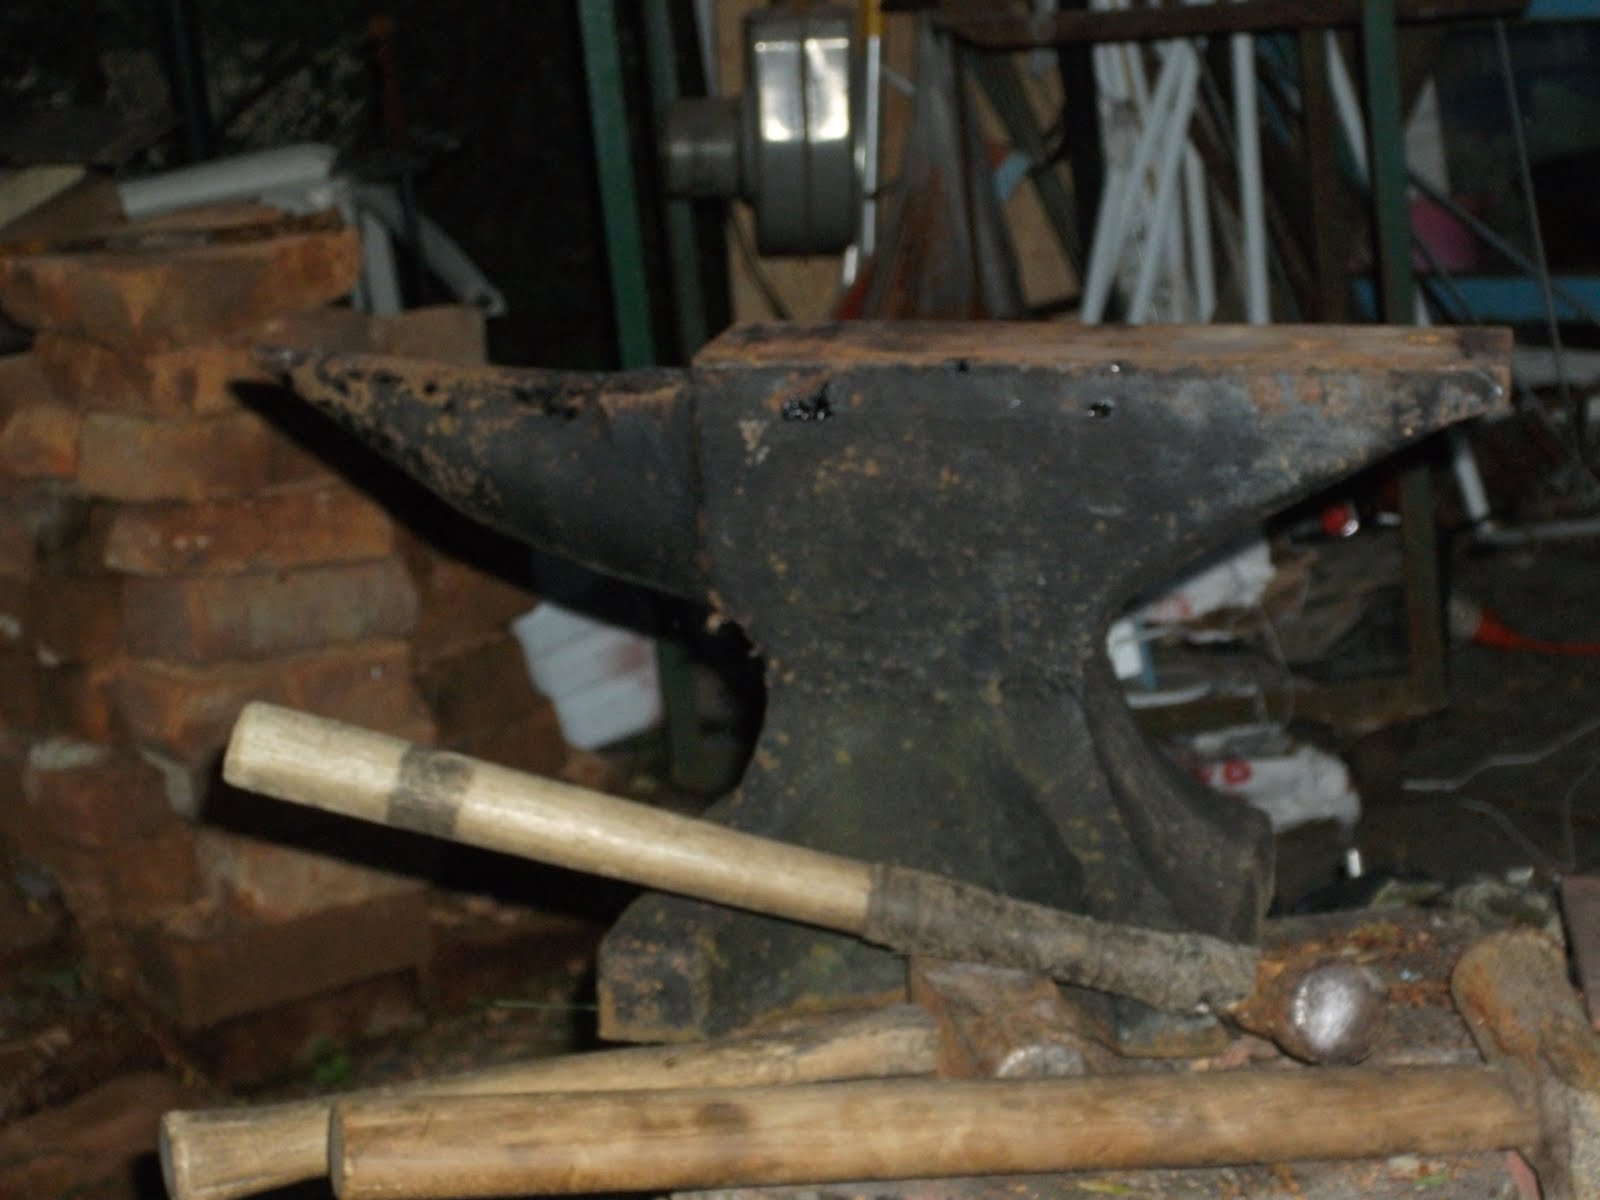


Bent Lawnmower Blade
After hitting a steel pipe with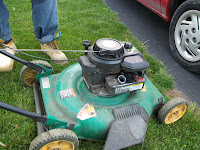 No. 18's mower, DD then hit a lump of earth with ours. It bent the blade down but didn't do any other damage. No. 20 still had to be finished. We couldn't use the tractor because the gate to the back yard is too narrow. There was nothing to do but to break out the forge. I haven't used it for about 18 months. All the clutter that buried it had to be moved away.
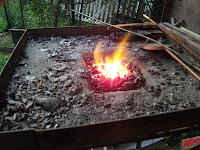 I wasn't sure if the fan would still work, but it did. We soon had a nice fire and Daniel hammered the blade straight with two or three heats. We used the new anvil for the first time. We hadn't use
 d the forge since JJ bought the beetle (since the anvil and beetle came at the same time, from the same seller). We let the blade cool slow
 ly since it wasn't bent near the cutting edge. Then replaced it, and Daniel finished the job with
 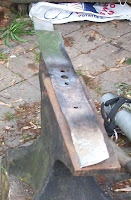 no problems. With such a nice little fire going I didn't want to waste it. So I started making an S hook, which turned out to be a G clef for Lynn Cunningham, retiring from West Point
 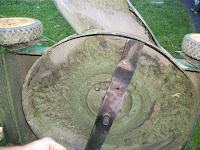 band
band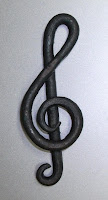 .
.
 No. 18's mower, DD then hit a lump of earth with ours. It bent the blade down but didn't do any other damage. No. 20 still had to be finished. We couldn't use the tractor because the gate to the back yard is too narrow. There was nothing to do but to break out the forge. I haven't used it for about 18 months. All the clutter that buried it had to be moved away.
 I wasn't sure if the fan would still work, but it did. We soon had a nice fire and Daniel hammered the blade straight with two or three heats. We used the new anvil for the first time. We hadn't use
 d the forge since JJ bought the beetle (since the anvil and beetle came at the same time, from the same seller). We let the blade cool slow
 ly since it wasn't bent near the cutting edge. Then replaced it, and Daniel finished the job with
  no problems. With such a nice little fire going I didn't want to waste it. So I started making an S hook, which turned out to be a G clef for Lynn Cunningham, retiring from West Point
  band
band .
.
Saturday, March 20, 2010
Making the Drum
Once the hair was slipped off  the hides, and the lye neutralised with vinegar, it was time to make the drum. We cut circles of rawhide a little bigger than the ends of an old icecream making pail. The ring was taken off the pail, the staves removed, and the bottom taken out. Then the staves were put back (after a little more sanding), and the ring replaced without the bottom. Holes were punched around the circumference of the rawhide (2 inches apart, but we only used every second hole). We stitched a shoe lace (two long ones tied together) through the holes and tied off with a reef knot. We didn't make it very tight because the rawhide will shrink
  as it dries (we will redo this step if the skins are not tight enough when dry).
The icecream maker motor says: Silex P.S. Proctor-Silex. I don't know if it still works, but I don't think I have the beaters anyway. I do have a pamphlet that came with it (somewhere).
 the hides, and the lye neutralised with vinegar, it was time to make the drum. We cut circles of rawhide a little bigger than the ends of an old icecream making pail. The ring was taken off the pail, the staves removed, and the bottom taken out. Then the staves were put back (after a little more sanding), and the ring replaced without the bottom. Holes were punched around the circumference of the rawhide (2 inches apart, but we only used every second hole). We stitched a shoe lace (two long ones tied together) through the holes and tied off with a reef knot. We didn't make it very tight because the rawhide will shrink
  as it dries (we will redo this step if the skins are not tight enough when dry).
The icecream maker motor says: Silex P.S. Proctor-Silex. I don't know if it still works, but I don't think I have the beaters anyway. I do have a pamphlet that came with it (somewhere).
Dehairing the hides
A an d J have their 2nd grade project making musical instruments. J bought som
 e plastic eggs and filled them with various rattling materials: buttons, beads, pebbles, rice. She has made shakers.
A wants to make a drum so we are dehairing the deer hides to make rawhide. We wanted to soak the hides in lye (=caustic soda=sodium hydroxide) but it is hard to find. Even tually we bought some Drano (which is sodium hydroxide). I remember Mr Woolley years ago brought some caustic soda over to unclog the pipes on mum's ancient ringer washing machine. We diluted the lye 1/4 cup to ten gallons and soaked the hides for a few days. Then the hair slips off easily with a bit of scrapin
 g.
g.
After the hair is off, the hide is rinsed out to get some of the lye out. Then to neutralise the remaining lye, soaked in a vinegar solution for 30 minutes (1/4 cup per gallon).
 d J have their 2nd grade project making musical instruments. J bought som
 e plastic eggs and filled them with various rattling materials: buttons, beads, pebbles, rice. She has made shakers.
A wants to make a drum so we are dehairing the deer hides to make rawhide. We wanted to soak the hides in lye (=caustic soda=sodium hydroxide) but it is hard to find. Even
 tually we bought some Drano (which is sodium hydroxide). I remember Mr Woolley years ago brought some caustic soda over to unclog the pipes on mum's ancient ringer washing machine. We diluted the lye 1/4 cup to ten gallons and soaked the hides for a few days. Then the hair slips off easily with a bit of scrapin
 g.
g.After the hair is off, the hide is rinsed out to get some of the lye out. Then to neutralise the remaining lye, soaked in a vinegar solution for 30 minutes
 (1/4 cup per gallon).
Scraping the hides
A friend at Camp Taconic gave us three hides from white-tail deer that he had shot with black powder. He also let us shoot the muzzle-loader. D hit his target using a firm support at about
 25 metres. The first step in preparing the hides is scraping off the meat, fat, and membrane that was left after the skinning. After scraping we nailed them to boards to stretch and dry since we couldn't get the chemicals (pool supply places were closed for Christmas). Anyway, I don't think the tanning would have worked in the cold (and we weren't about to bring the hides inside!). We couldn't even scrape them until the hides thawed.
 friend at Camp Taconic gave us three hides from white-tail deer that he had shot with black powder. He also let us shoot the muzzle-loader. D hit his target using a firm support at about
 25 metres. The first step in preparing the hides is scraping off the meat, fat, and membrane that was left after the skinning. After scraping we nailed them to boards to stretch and dry since we couldn't get the chemicals (pool supply places were closed for Christmas). Anyway, I don't think the tanning would have worked in the cold (and we weren't about to bring the hides inside!). We couldn't even scrape them until the hides thawed.
Monday, March 1, 2010


Subscribe to:
Posts (Atom)

